Thursday, January 31, 2013

How To : The Donut Bun


What you will need

- Hair  Elastic
- Bobby Pins
- Hair  Donut (find a shade closest to your hair colour)
- Hair  Spray
- Hair  Brush

 Step 1.

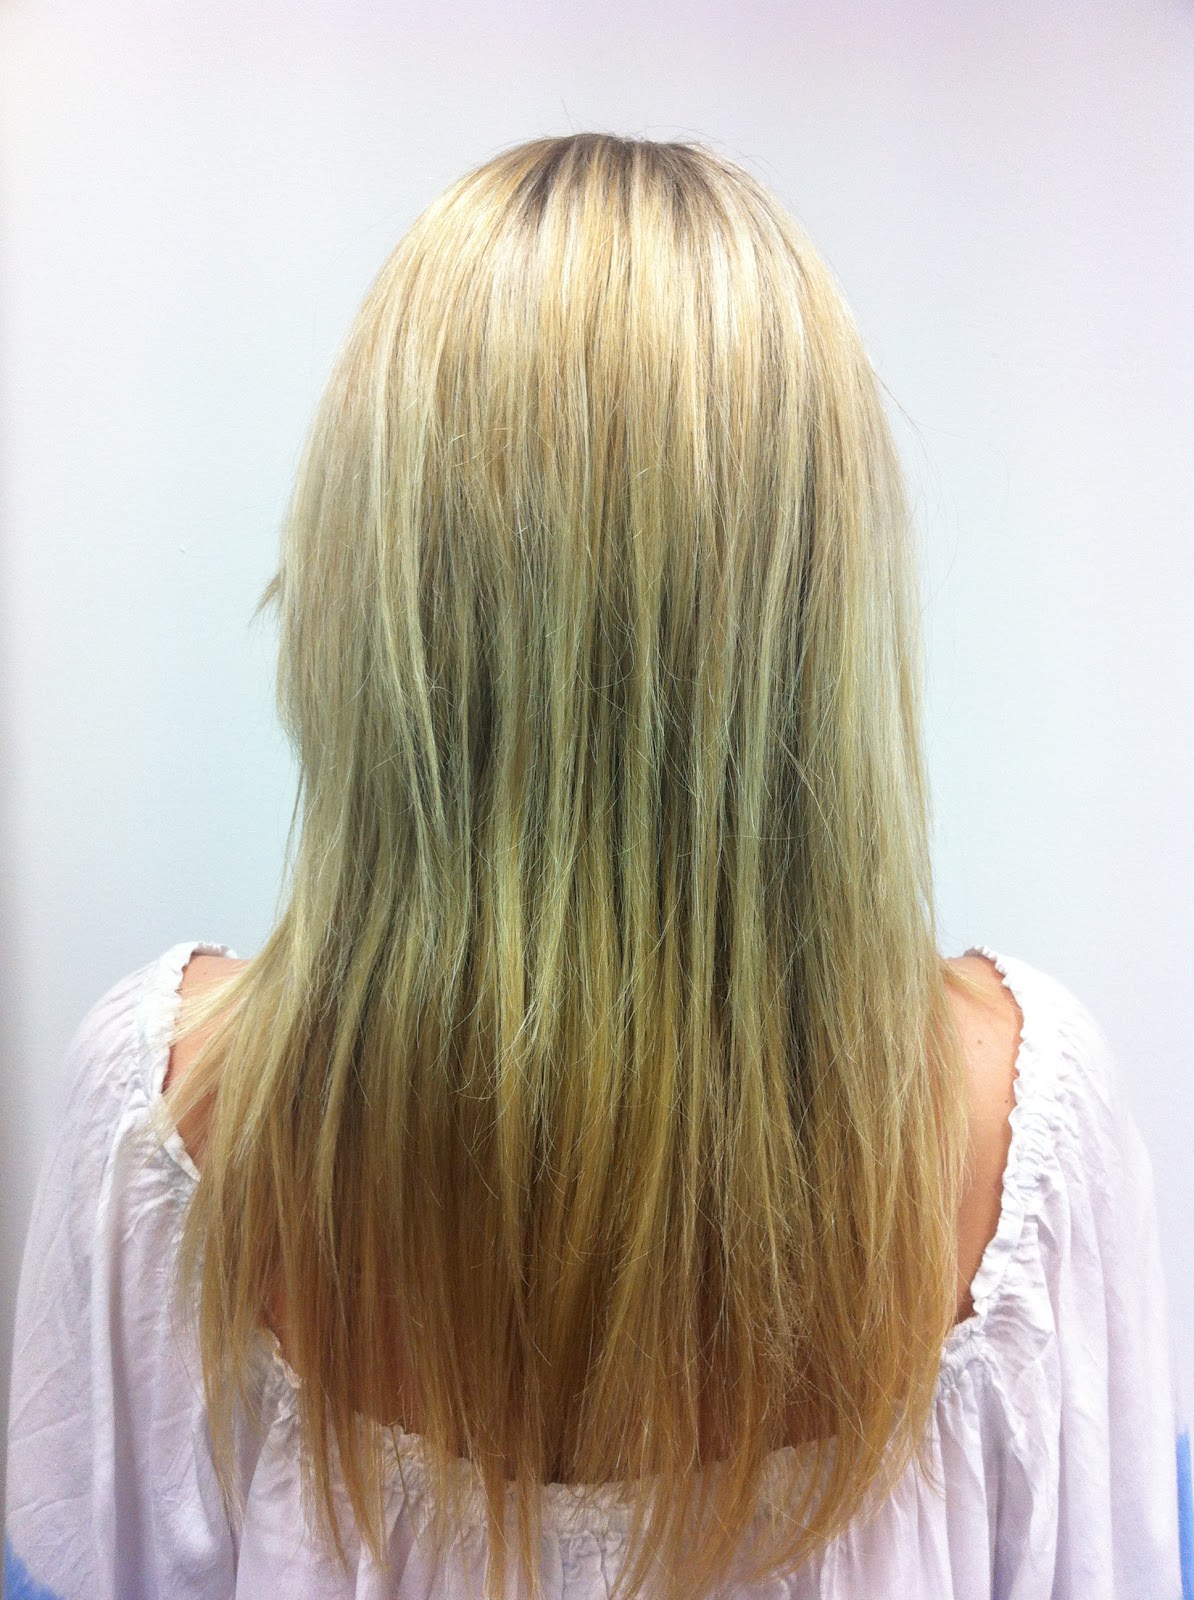
Pull all hair into a high ponytail, secure any loose layers with bobby pins.


Step 2. 


Pull the ponytail through the hole in your in the donut. This should be at the base of the pony-tail against your head.

Step 3.

Lean forward and spread your ponytail evenly around the hair donut.  Make sure that your hair completely hides the donut and begin to tuck your hair under the donut. You may need to secure with another hair elastic to ensure it remains secure.


Step 4.

For long hair, leave one piece untucked and use this to wrap around the edge of the donut, to help conceal the hair tie and secure with a bobby pin.

Step 5. 


Check all angles of style to ensure the donut cannot be seen. Secure any loose pieces with a bobby pin and spray with hair spray.  


Voila! An easy and elegant upstyle perfect for the weekend!

Thanks for reading


xo Bec


Wednesday, January 30, 2013

Our favourite Social Networking sites!

We all love to keep in touch with friends, family and colleagues and there's a billion different ways to use social media, but which platforms are most popular with us?


Our Top Three...


Facebook:
So popular they even made a film about it, we love Facebook to share our interests, news, images and competitions.  You can follow our latest activity at www.facebook.com/StefanAustralia

Instagram:
Here at Stefan we use Instagram almost everyday to share our latest finds and inspirations... have you seen ours? www.instagram.com/stefanhairfashions

Youtube:
There's a wealth of video content from Stefan and it is collected and uploaded to Youtube.  Check out our recent events, TV appearences and archived video materials at www.youtube.com/user/hairvids


Other Social Media Sites...


If you're a social butterfly and want to spread your online-wings, here's a few other sites you could explore...

Twitter:
Share your thoughts, musings and rants in short 'tweets'

Linkedin:
Primarily for business moguls, industry professionals and anyone with a career path, Linkedin provides a service for those looking to network in and around their field.

Pinterest:
Essentially it's a virtual pinboard that allows you to  share images and brainstorm out loud.

Myspace:
It's not quite expired just yet, but bands and individuals still share music and interests here.

Google+:
A huge competitor to Facebook, Google aim to provide very similar services whilst allowing you to put your contacts into 'circles'.

Skype:
Not quite a social networking site but a clear favourite online tool for keeping in touch!

Things to Come...

So, in summary as mobile device usage increases exponentially (even my Mum now has a smartphone!) We can probably expect the bombardment of content in 2013 to become easier to swallow in nice visual chunks (similar to Pinterest and Instagram) while targeted advertising grows as sites continue to gobble up and share our personal information and browsing habits.

Share and enjoy... Alex

Saturday, January 26, 2013

Australia Day!


It's that time of the year again! Australia Day! And whilst I was washed out while I was camping, I was still excited to spend it with good friends!

Australia Day to me usually means great friends, good food, triple J's hottest 100 and being outdoors! if however like me, you are still recovering from the silly season sugar coma, I have some healthier Australia Day alternatives for you to try!

Swap those buttery Anzac Cookies for
Vegan, No-bake Anzac biscuit truffles!

  • 1/2 cup (120g) cashews
  • 1/3 cup (30g) sesame seeds
  • 1/3 cup (30g) desiccated coconut
  • 2/3 cup (60g) rolled oats
  • pinch sea salt
  • 1/3 cup golden syrup (can use maple syrup also)
  • 2 tsp vanilla
  1. Place the cashews, sesame seeds, coconut, oats, and sea salt in a
    food processor and pulse until finely chopped.
  2. Add in the golden syrup and vanilla and pulse until the mixture clumps together and can be rolled into balls (you can add a teensy bit of water if needed).
  3. Roll into balls and store in the fridge (or the freezer, but you’ll want to let them come to room temperature in that case).
  4. Eat!
Swap those sugary lamingtons for
Paleo Lamingtons!

  • For the sponge cake
  • 3 whole eggs
  • 1/2 cup tapioca flour
  • 3/4 cup almond meal
  • 2/3 tsp gluten free baking powder
  • just under 2/3 cup coconut oil, melted
  • 4 tbsp rice malt syrup
  • 1 tsp vanilla extract
For the chocolate & coconut icing
  • 1/2 cup cocoa powder
  • 2/3 cup coconut oil
  • 2 tbsp rice malt syrup
  • 1 tsp vanilla extract
  • 3 tbsp coconut or almond milk
  • 1 1/2 cup desiccated coconut (unsweetened)

Instructions

  1. Preheat oven to 165C (330F).
  2. Grease a 2 cm-deep, 20cm x 30cm (base) baking tray pan with some olive oil. Line with baking paper, leaving a small overhang on all sides.
  3. Dissolve coconut oil, malt syrup and vanilla extract and whisk together until well incorporated, set aside. Measure out tapioca flour and almond meal.
  4. Using an electric mixer on high setting, beat eggs for 5 minutes until thick and foamy. Gradually add coconut oil mix while beating the eggs. Add baking powder, tapioca and almond meal. Get a whisk and fold for 10-15 seconds until final ingredients are incorporated. You could also use an electric mixer on the lowest setting. Pour mixture into the prepared pan. Bake in oven for 20 minutes or until a skewer inserted into the centre comes out clean. Turn the sponge cake onto a wire rack and set aside to cool completely.
  5. When the sponge cake has cooled down, trim the edges off & cut into 4 equal strips.
  6. To make chocolate icing, combine coconut oil, cocoa, vanilla, coconut milk and rice syrup in a bowl. Blend using an electric mixer on low setting or a whisk for 1 minute. Spread coconut on a plate.
  7. Spread a thin layer of chocolate icing on one side of the sponge cake strips.Stick each two strips into one, chocolate sides in. 
  8. Cut strips into equal lamington pieces – as small or as big as you like.
  9. In this final stage, you have to work pretty fast as the icing will start to harden a little. If the icing starts to set, add 1-2 tablespoons of hot water and whisk through again. Using two forks, dip and coat lamington squares with a thin layer of chocolate icing and then dip and roll in coconut. Set aside on a wire rack.
  10. Stand for 1-2 hours before serving. Store in an air-tight container, placed on some baking paper, for a few days.  You can store in the fridge but they will firm up.
Andrea xo


Thursday, January 24, 2013


How To : Defining your Brows

 
                                              Before                After

What You'll Need

- Tweezers
- Mirror
- Brow pencil or powder
- Slanted Eyebrow brush

 1. Prepare your brows

 
Remove all makeup and determine natural shape.  Pluck any stray hairs that fall BELOW your natural line ( never pluck from above the brow) remembering to remove 1 hair at a time and always step back from the mirror periodically to make sure you don't remove too much!

2.Locate your starting point.


To find where your eyebrow should naturally end, hold a pencil straight from the edge of your nose to your brow. This is where your eyebrow should begin, and when repeated on the other eye creates symmetry.  

3. Choose your colour/tools


For me, using brow powder is the easiest way to define my  brows without any harsh lines that I get from using a pencil. I can build colour to create a subtle or bold look depending on the occasion.


I have used the  Stefan's Brow Sculpt  for this tutorial, and I absolutely love it. I used the lighter colour to begin shading,and the darker to define the arch. It also comes with the perfect eyebrow brush too!

4. Begin to sculpt


Press the brush into the powder and tap off any excess. Starting at the inside of the nose lightly stroke the brush onto the brow in an outward motion, using light pressure until you reach the end of the brow.


5. Repeat step 4 on other brow.

Remember to step back from the mirror periodically to ensure eveness and symmetry.


6. Build colour until your desired look is achieved.


Be brave and go bold!


Thanks for Reading,

Have a wonderful weekend!

xo Becky


Wednesday, January 23, 2013

A Tasty New Discovery......

So I'm still on the post xmas, get-trim bonanza and I've been eating a lot of salads and thought I'd share my two favourite extras for a classic mango salad...

Baked Sweet Potato:
Nice and easy!

Just chop up the sweet potato, brush with olive oil, sprinkle with nutmeg or Cinnamon and bake!

Serve on top of the salad and dress with yoghurt (or mayonnaise).


Crispy Croutons:

Another very simple recipe...

Slice your bread into cubes, heat a pan with olive oil & garlic.

Then fry with as much amount of butter as you fancy and cook until crunchy.

 Mix into your salad and enjoy!


Alternatively...

If you're not in the mood for cooking yourself,
 check out our all new Jo-Jo's Restaurant website for a range of great dishes!

Until next week...

Alex

Tuesday, January 22, 2013

DIY: Healthy & Yummy Summer Treats!


Hello!

I'm Tiara, the newest graphic designer at Stefan! My greatest loves in life are pixels and paper, but each week I'll get to share with you some of my favourite DIY projects. Having recently experienced some of Australia's hottest temperatures on record, there's no better time to experiment with some healthy (and yummy!) summer treats. Bonus: These are also super quick to make.

 Me! Having a toast to my new job – yay for 2013!


Kiwi popsicles!

This is my latest summer addiciton. Simply grab a DIY popsicle kit from Woolworths/Coles/BigW/etc. and chop up your favourite fruits. Fill up each cup as much as you can with the fruit, and then just add water (or yoghurt for extra creaminess) and put them in the freezer over night.

Oven baked strawberries!

This clever "faux candy" recipe is next on my to-do list! These strawberries are dehydrated in the oven and apparently taste pretty similar to fruit loops! (click here for a detailed recipe)

 
Chocolate kiwi lollypops!

Okay, so this recipe has a wee bit of chocolate! But it's a super thin layer, so that doesn't count, right? Just slice up some kiwi (or choose any fruit you like!), put a popsicle stick through each slice, and dip it straight into a bowl of liquid chocolate.
Fruit medley skewers!

And this little gem is pretty self-explanatory! Cut up the loveliest fruits of the season that you can find into chunks – or use whole berries/grapes/etc. – and put a skewer through them! Sure, you can just make a fruit salad, but for some reason it just tastes better this way!

Friday, January 18, 2013

Stefan Makes You Beautiful!

This week I really want to prove to you how good Stefan products are. 

I had a bit of a bad week with my skin so I asked one of our make-up artists to do a bit of a makeover on me.

BEFORE:


AFTER:


HAHAHAHA! JUST KIDDING!

This is a picture Alex took on his new phone using the Ugly Booth App.
Funny huh?!

Anyway, back to business....

I actually really wanted to talk about some of our new products, and how amazing they are - they truly do work!

So this week I tried out our new Straight Hair Kit.
It is AMAZEBALLS!


My hair is usually kinda kinky and wavy, with a bit more frizz than I would like, so I usually wash, condition, dry and straighten (then sometimes curl) most mornings!

So I used it on Wednesday night.
Shampooed, Conditioned, then put the treatment in for about 5 minutes.
I then added Heat Protector and then partially dried it with the hairdryer, then let it dry naturally.

This is the result!:


Amazing hey! It totally eliminates the need to straighten at all. And makes it way easier if you want to chuck a few curls in your hair, because all the frizz has gone.

This is my hair today (bit scruffy, but give me a break - its 1pm and I've been up since 6.30!)


Now if you ask me - I think that's a total miracle!

A simple 3-step process in the shower, plus a quick dry off with your hairdryer - and dead straight hair is yours?

There is magic in these Stefan products I swear, you have GOT to give them a go!


Last but not least I just wanna show you guys the products I am totally rocking this week.

I'm really into bright colours at the moment so I'm going for bright eyes with the professional palette:


Don't you LOVE this peacock eye I did at the start of the week?

Loving this Stefan Bobble Bracelet - funks up any simple outfit!

Now I said I loved colour - but these shoes might be a bit much - even for me! 


What do you think?


Have a lovely weekend everyone, send me your weekend pics/makeup looks/fave shoes @stefanhairfashions on Instagram,

I'd love to see you all!


Love, Kate XXX

Thursday, January 17, 2013

How To: Individual False Lashes

How To : Individual Lashes

When it comes to false lashes there are so many styles and shapes out there to suit everyones budget and personality. A full set will create lush, thick lashes, whereas individual lashes allow a lot more control of the shape and density of the lashes. 


They can be super subtle, or transform you into your fave celebrity look-alike. For me, I use individual lashes for thickness and length, as well as colour - as I was born with naturally fair lashes - they can use all the help they can get!

So let's get started...


What you will need

- Individual False Lashes(you can pick some up from your nearest Stefan salon!)

- Tweezers

- Eyelash glue

- Good lighting

- Mirror

- Cotton buds

Step 1.Prep

To prep for the application, make sure your eyelid and lashes are clean of any makeup. Curl your real lashes with an eyelash curler. For those with fair lashes like me, I apply 1 coat of mascara so I can see where my lashes are!


Step 2.Glue

Put a few drops of lash glue on a hard surface. Let it dry for a minute until it becomes tacky. Using a set of tweezers, pick up eyelashes and dip the root in the adhesive.


Step 3. Apply

Looking down into a mirror, place the lash on-top of your natural lashes as close to the root as possible. I usually start with a few in the middle, then the outer corner, and fill in the gaps in between.


Step 4. Repeat

Repeat steps above until you are happy with the thickness of the lashes. use a 

q-tip, if you need to press the lashes in closer to the root of your natural lashes.


Step 5. Finish

To finish, apply a coat of mascara to blend your natural and false lashes, this helps them stay in place, and disguise the roots.


Step 6. Optional

To complete the look, I also add mascara to my bottom lashes, and sweep a neutral brown shade across my lid, and a darker shade into the crease, to create a subtle Smokey eye. 


Tips:

- Be patient! Don’t try and apply these the first time just before you're rushing out the door. Give yourself enough time, and don’t worry if you make a mistake!


- Less is more! Start with a few individuals and add more as you feel more confident.

For removal - ALWAYS use an eyelash remover solution, otherwise you can really damage your natural lashes.

 Thanks for Reading 

  Becky xo